Hello, crafty friend! Today I’m wrapping up a mini series of project tutorials featuring a birthday themed collection by Becca Bonneville for Catherine Pooler Designs. To start at the beginning of this mini series, visit THIS POST, or stick with me to see how I put this trio of tags together…
Step 1: Tag Bases
Since we have a birthday theme going for this mini series, I figured I should certainly make a set of gift tags.

To create the base for this set, I cut out two tags for each one using the Notecard Frame & Tag die set.
Step 2: Ink Blending
Just as with the shaker window card we made earlier in this series, I didn’t have room to ink blend the entire palette, so I narrowed my selection to the three primary colors.

Only the bottom and right side of this layer will show, so I didn’t bother wasting effort or ink on the upper left side.
Step 3: Stamp & Stick

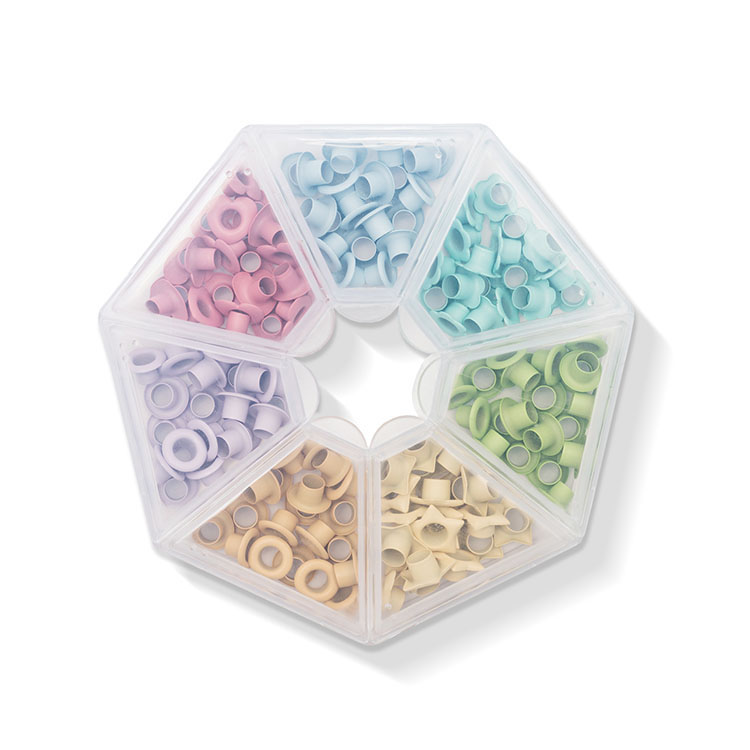
Once again, I stamped smaller images from the stamp sets in light grey ink onto the top tag layer. Next, I stamped the sentiments and secured the tag layers together with eyelets before adding the animals with foam adhesive.
Step 4: Finishing Touches

If you’ve been following along through this series, then you won’t be surprised to see I then added a splattering of white pigment ink and clear shimmer ink to match the rest of our projects and create a confetti look.
Finally, a few sequins and a bit of ribbon & twine were added.

Hooray! We did it! We made it through the entire mini series. I love this set of projects so very much. They’re so colorful, yet I didn’t have to color at all! Not one marker, pencil, or brush was used, and I think that’s pretty fun. What do you think?
If you’d like to see more projects, please visit my Gallery. You can find me on Instagram, Facebook, Pinterest, and YouTube as well. Until next time… stay crafty!
– Laura Evangeline
Project Supplies


oh gosh, Valentines! what a super idea. Love these tags for birthday packages.