Hello, crafty friend! Today’s tutorial is the third in the candy shoppe mini series using new Club Sursee stamps & dies from Catherine Pooler Designs. To start at the beginning of this series, visit THIS POST. Otherwise, let’s take a look at how this one came together…
Step 1: Base Layers

I started with a side folding notecard (3.25″x4.25″) base and a mat layer trimmed to 2.75″x3.75″.
Step 2: Stamp, Emboss, & Cut
I stamped the gumball machine out four times using clear embossing ink and heat set each with silver sparkle powder before die cutting them out.

(Tip: Use a low tack tape to hold your die in place and ensure it doesn’t slip when it passes through your machine.)
Since this image was quite delicate, I created custom foam adhesive shapes by running the die through my machine over double sided adhesive foam sheets.

Step 3: Inking & Stitching
Once again, I swiped mini ink pads over the card base to create a painterly background effect and added a stitched border to the mat layer with ombre thread.
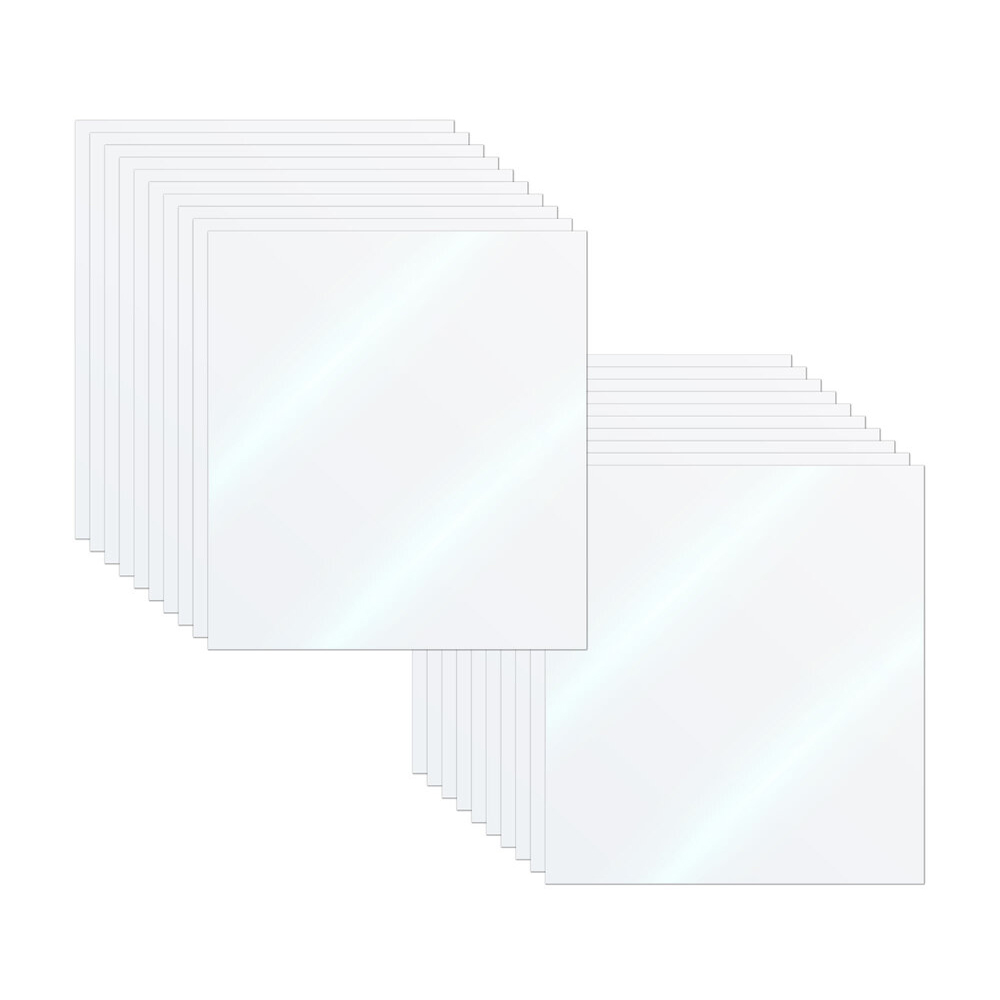
Step 4: Acetate Windows

Clear acetate was glued to the back of each gumball machine and the excess was trimmed away.
Step 5: Trace & Stamp

Using the die, I traced along the outside edge of the window opening onto the mat layer, and stamped several colorful gumball images.
Step 6: Fill ‘er Up!

Once I stuck the die cut foam to the mat layer, I was able to fill the opening with sequins and lock them in by attaching the gumball machine on top.
Step 7: Stack, Flick, & Strip

The mat layer was secured to the card base using foam adhesive. White pigment and sparkly ink were splattered around the border. To protect the window and embossed image, I used the backing paper from the foam adhesive as a mask.
Finally, a sentiment was stamped onto a strip of cardstock, the ends were snipped into a fishtail banner, and it was secured to the card front.
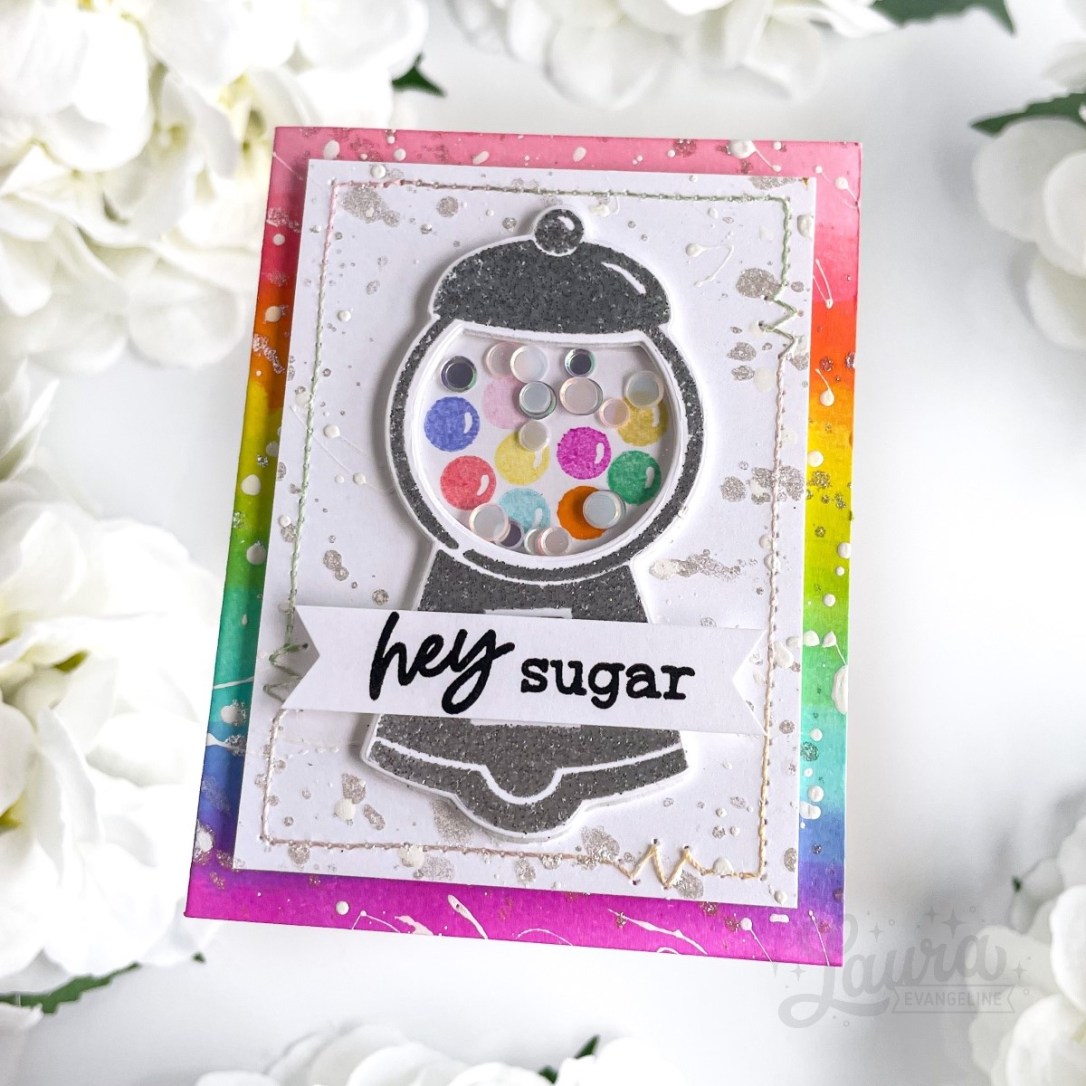
That’s three projects down, and one more to go! How do you like this little mini card?
If you’d like to see more projects, please visit my Gallery. You can also find me on Instagram, Facebook, Pinterest, and YouTube as well. Be sure to come back soon for the next one, or subscribe for automatic email updates. Until next time… stay crafty!
– Laura Evangeline
Project Supplies