Hello, crafty friend! I’m sharing another shaker card featuring more cute critters from Pretty Pink Posh. Let me show you how I put this one together…
Step 1: Card Base
The card base I’m working with today is a horizontal oriented top folding A2.
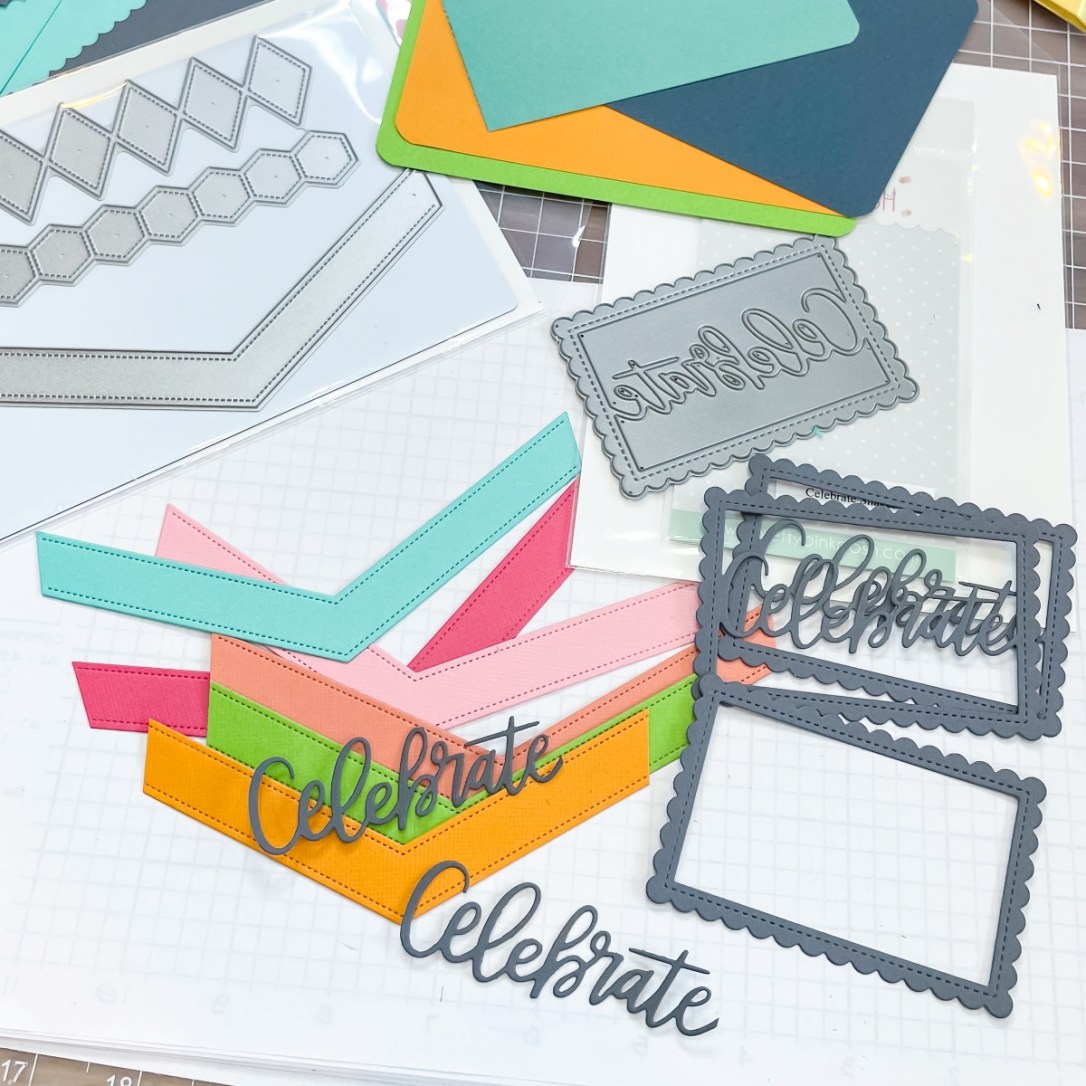
I started by cutting out colorful cardstock stripes using the Stacked Edges 2 die set and adhered them to a piece of thin cardstock.
To create a thick shaker window frame, four frames were cut from navy cardstock using the Celebrate Shaker die and stacked one on top of the other with a piece of acetate sandwiched between the top two layers. (I snipped out the word “Celebrate” and saved them for a future project.)
Step 2: Stacking It Up
A left over piece of navy cardstock was trimmed down to 4″x5.25″ and the chevron piece was trimmed 1/8″ inch smaller.

I wanted the frame to sit up on top of the chevron layer, so I cut out a rectangle slightly larger than the inside border of the scalloped frame using a craft blade then secured the striped layer on top of the navy layer.
Step 3: Critters & Coloring
Using black pigment ink, I stamped out a fox, koala, and mouse from the Sending Love and Crafty Critters stamp sets and colored them in with alcohol markers before die cutting them all out. The colors I used were…

- Burnt Orange Blend
- Tan Blend
- Pale Pink Blend
- Pale Pink Shades
- Blue Porcelain
- Ice Grey Blend
- Pale Pink Blend
- Blue Porcelain


- Ice Grey Blend
- Pale Pink Blend
- Pale Pink Shades
- Muted Brown Blend
- Blue Porcelain
Step 4: Sentiment

After figuring out how I wanted the critters placed & trimmed, I stamped the sentiment from Everyday Greetings on the card base, so it would show through the shaker window.
Step 5: Fill & Assemble
The chevron piece was attached to the card base using foam adhesive creating a well I filled with two sizes of iridescent star confetti.

The die cuts were attached using foam adhesive on their upper halves and flat strong tape on the lower edge and tucked into the frame a tad bit, so they appear to be hanging out of the window.
I then secured the window to the card base locking the shaker bits inside.
Step 6: Finishing Touches
For the finishing touches, I added a few iridescent white jewels as well as splashes of clear shimmer ink and white pigment.

I love how this one turned out. I don’t normally color a ton, but I feel good about how these little guys came together. Are you into coloring critters? I’d love to know.
If you’d like to see more projects, visit my Gallery. You can also find me on Instagram, Facebook, Pinterest, and YouTube as well. Until next time… stay crafty!
– Laura Evangeline