Welcome! I have an extra special tutorial to share featuring a card created for Scrapbook & Cards Today magazine. For this issue, I was challenged to create cards using dies in unconventional ways. Let me show you what I came up with…

Step 1: Die Cut a Stamp
I started by creating a custom background stamp. To do this, I cut a piece of self-adhesive craft foam with a spider web cover die and attached it to an acrylic stamp block.

I then used a metallic frost ink pad to stamp onto a top folding A2 (4.25″x5″) card base I cut from teal cardstock.
Step 2: Stenciling
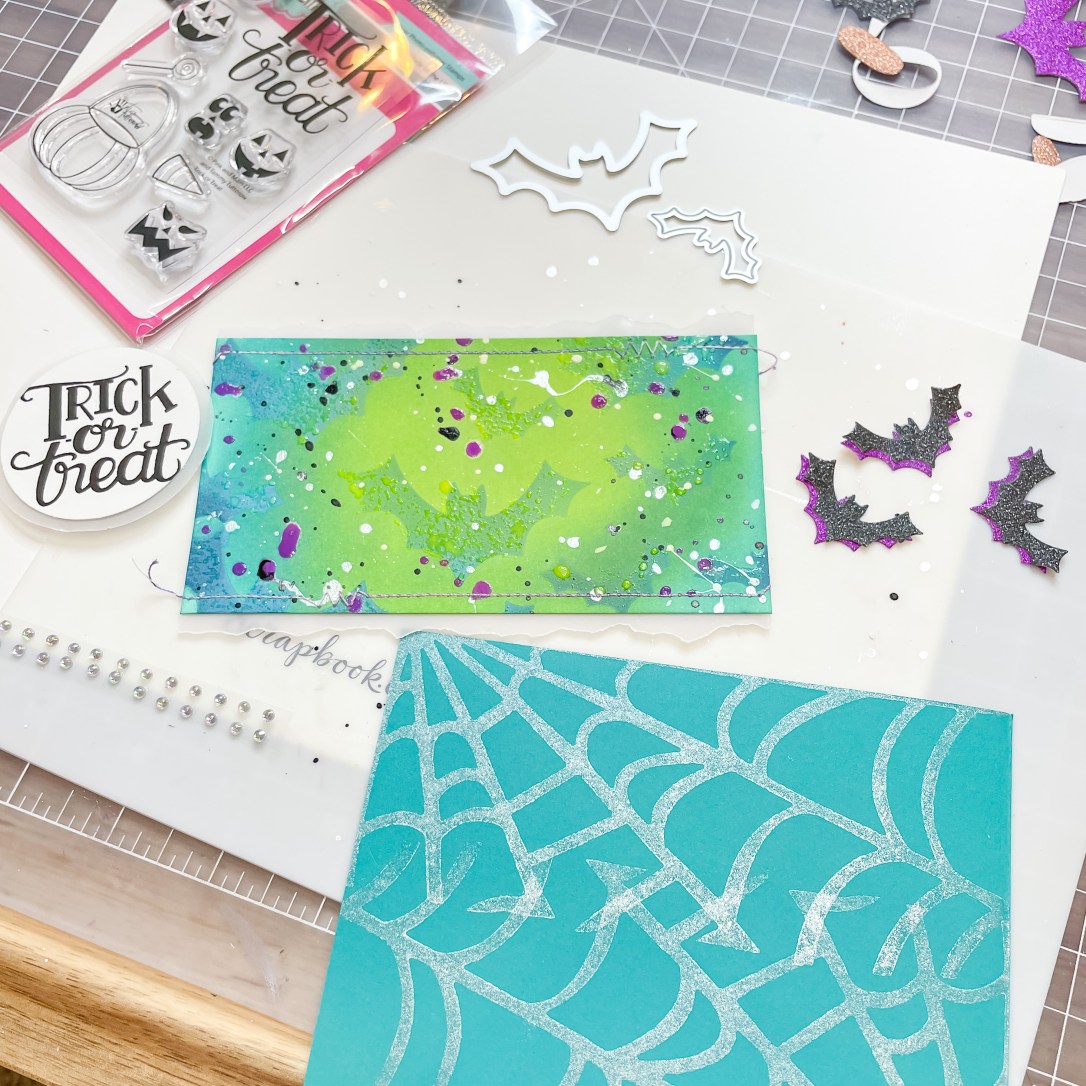
I trimmed a piece of white cardstock to 3″x5.5″ and used foam ink blending tools and distress oxide inks to create a glowing Halloween background.

I then used bat shaped dies and thick vellum to create a stencil and went over the background with inks again to create the bat shadows.
Step 3: Add Texture

To enhance the bats a bit more, I also sprayed a bit of resist spray through the stencil and set the piece aside to dry for a few seconds.
Step 4: Spritz & Splatter

I couldn’t keep myself from adding more color, so I splattered on shimmery pearl ink, black ink, white pigment, and watered down purple embellishment drops.
Step 5: Stamp, Stack, & Stitch
After the inked panel was dry, I added a torn edge border of vellum and decorative ombre stitching before securing it to the card front with foam adhesive.
I originally stamped the sentiment in black on a white circle with a vellum shadow to give the impression of a moon, but once the card was fully assembled it didn’t have enough ‘pop’, so I reversed the colorway to be a white embossed sentiment on black cardstock before securing it to the card front with double sided tape.
Next, I cut out bats from purple and black glitter paper and attached them to the card front one behind the other with the wing tips free to give the impression they’re flying right off the card.
For the final touch, a few gem stickers were added, and that’s it!

That’s all for this project! I’d love to know what your favorite element in this card was, and I hope you’ll come back soon to see the next one.
If you’d like to see more, please visit my Gallery. You can also find me on Instagram, Facebook, Pinterest, and YouTube as well. Be sure to come back soon for the next one, or subscribe for automatic email updates. Until next time… stay crafty!
– Laura Evangeline
Project Supplies